Open Stencil
This function opens the Window for Editing and creating stencils, these are stitch-pattern.
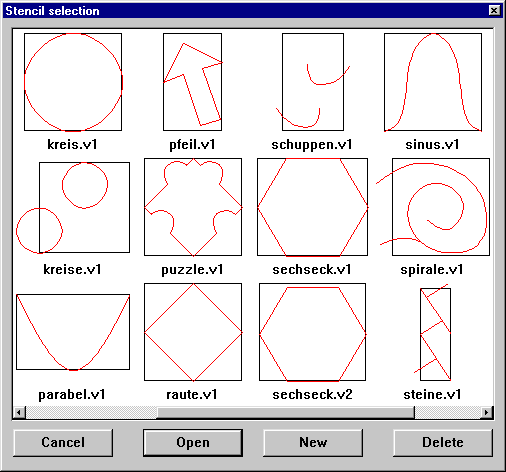
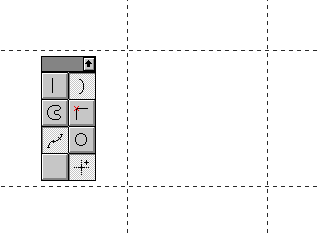
With the open-button an existing stencil is opened for modification.
A new design is displayed on the screen and the stencil occurred inside a rectangle built of 4 auxiliary lines. The stencil itself is drawn with drawing lines also and can therefore just be edited in the drawing-line-mode1QONZ6K. The 4 auxiliary lines form the outer boundary
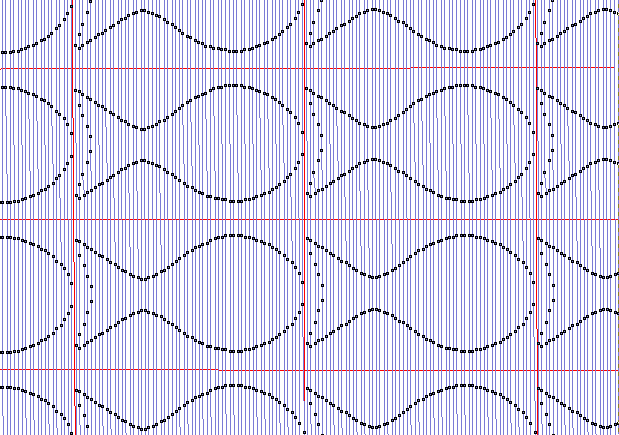
of the area which is laid next to and on top of each other when calculating the stitches.
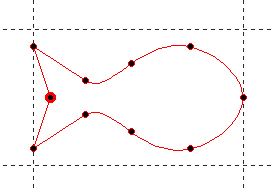
While editing the stencil you can drag more auxiliary lines out of the rulers. But before savingQCGNX6 the stencil all except the 4 ones, which form the rectangle,
have to be deleted.
Using the drawing line functions, an existing stencil can be altered. In fact all features of the coordinate-and stitch-mode are available in the stencil-editing, but only auxiliary lines are stored.
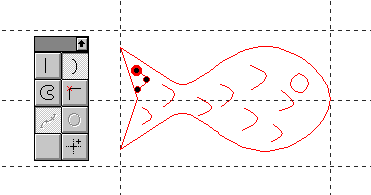
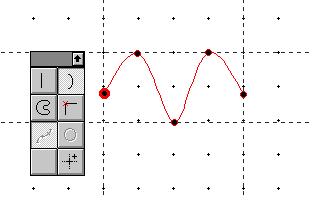
The button New opens a new design and only the rectangle for the lay is displayed. The rectangle can be changed individually and in the drawing line mode1QONZ6K the stencil lines can be drawn. This is made considerably easier by switching on the grid points62R5YN in the Layout-menu
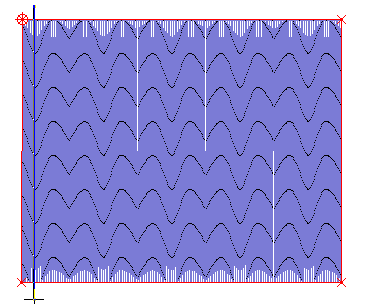
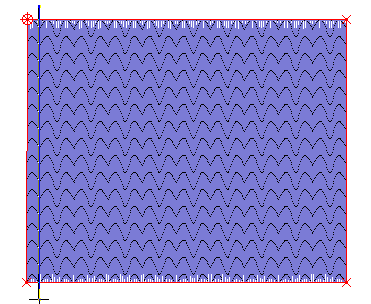
The stitch direction for the stencils is assumed to be vertically. So if you use the stencil with horizontal stitch direction afterwards, it will be displayed turned by 90°.
The size of digitising the stencil is unimportant for the length of the stitches afterwards. The size of the stencil while calculating stitches is controlled by the parameter width in the stencil-selection-window.
When having finished the drawing and fixed the rectangle correctly, the stencil can be stored with the function save stencilQCGNX6 in the file-menu.
Created with the Personal Edition of HelpNDoc: Revolutionize your documentation process with HelpNDoc's online capabilities